Promotions
-
In creating promotions there are 2 forms that you will need to create.
-
Ranges - It defines the product/s or service/s that will be under promotion.
-
Promo Code - It defines the mechanics of the promotion you want to launch.
NOTE: Create Ranges first before creating a Promo Code.
-
-
Here are the limits Admin can set to promo codes.
-
Date range - a date can be set, outside of which the offer is unavailable.
-
Max global applications - the number of times and offer can be used can be capped. Note that an offer can be used multiple times within the same order so this isn’t the same as limiting the number of orders that can use an offer.
-
Max user applications - the number of times a particular user can use an offer. This makes most sense to use in sites that don’t allow anonymous checkout as it could be circumvented by submitting multiple anonymous orders.
-
Max basket applications - the number of times an offer can be used for a single basket/order.
-
Max discount - the maximum amount of discount an offer can give across all orders. For instance, you might have a marketing budget of $10000 and so you could set the max discount to this value to ensure that once $10000 worth of benefit had been awarded, the offer would no longer be available. Note that the total discount would exceed $10000 as it would have to cross this threshold to disable the offer.
-
How to Create Range for All Products
-
Click Promos.

-
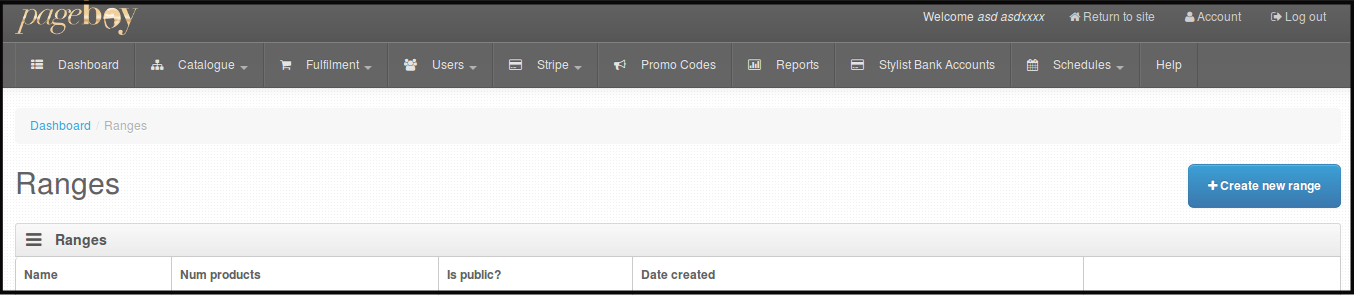
Click Ranges.

You will be directed to this page.
-
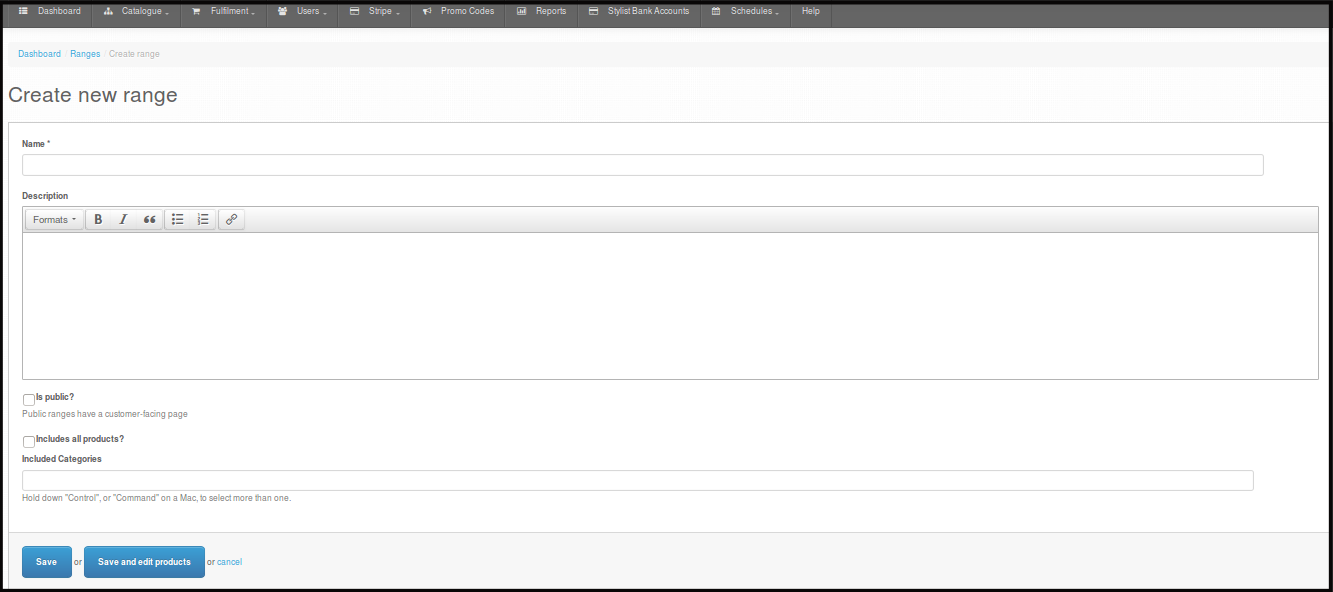
Click +Create New Range.

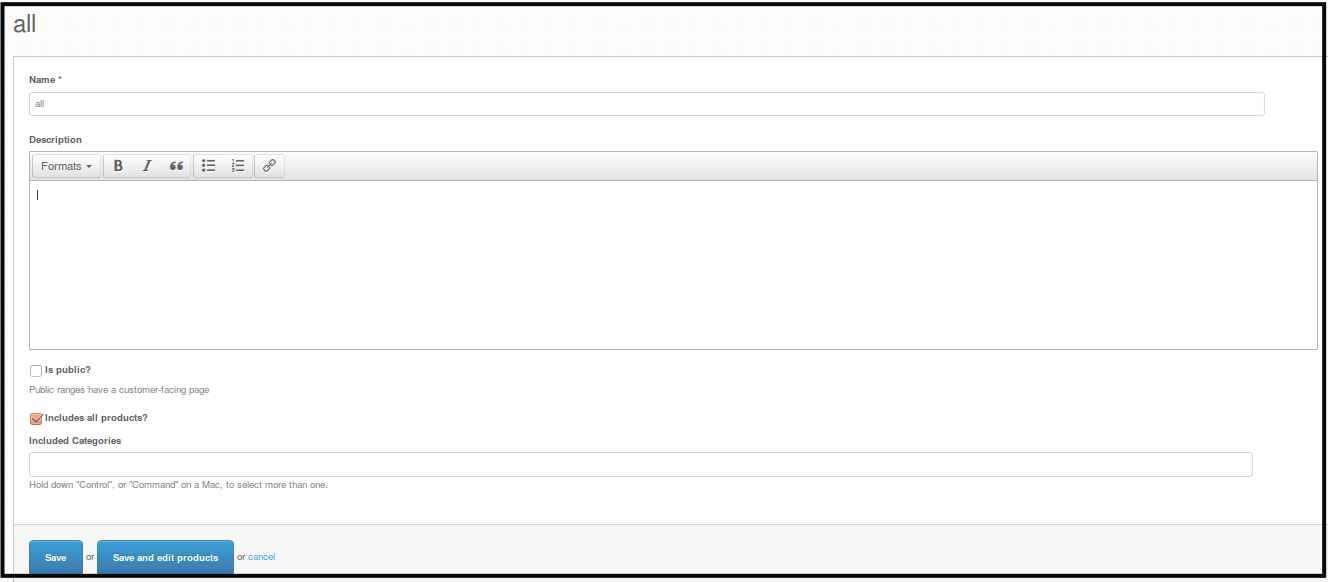
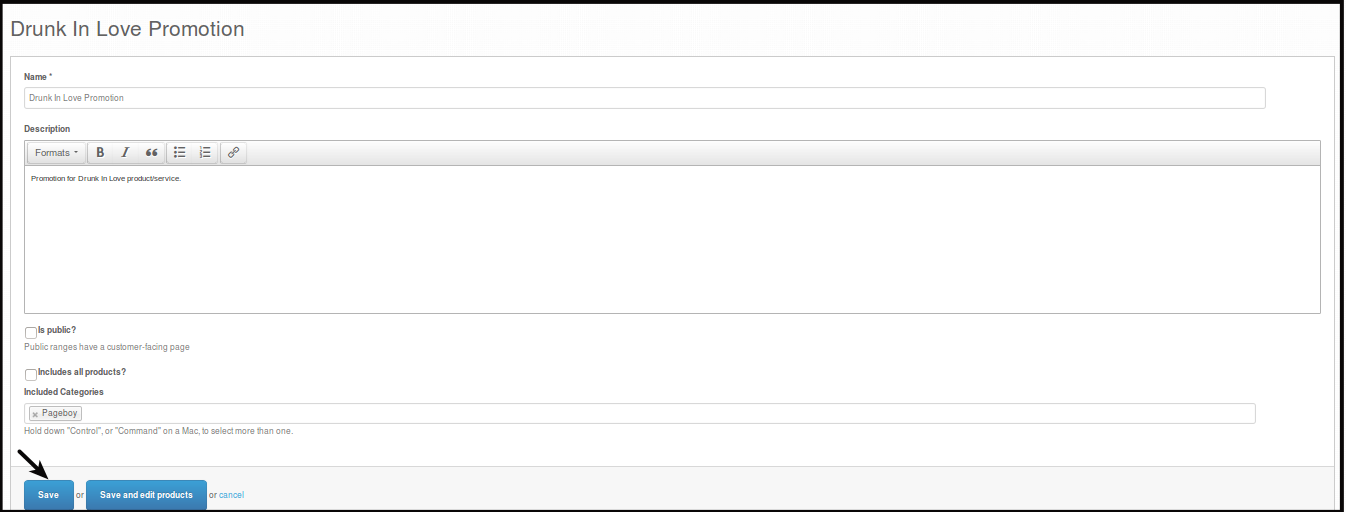
You will see this form. Fill out Range Name, Description, Includes All Products?, Included Categories.
-
Name - Name of the product range for promotions.
-
Description - The description of the promotion you are creating.
-
Includes All Products? - If all Products/services will be on promotion.
-
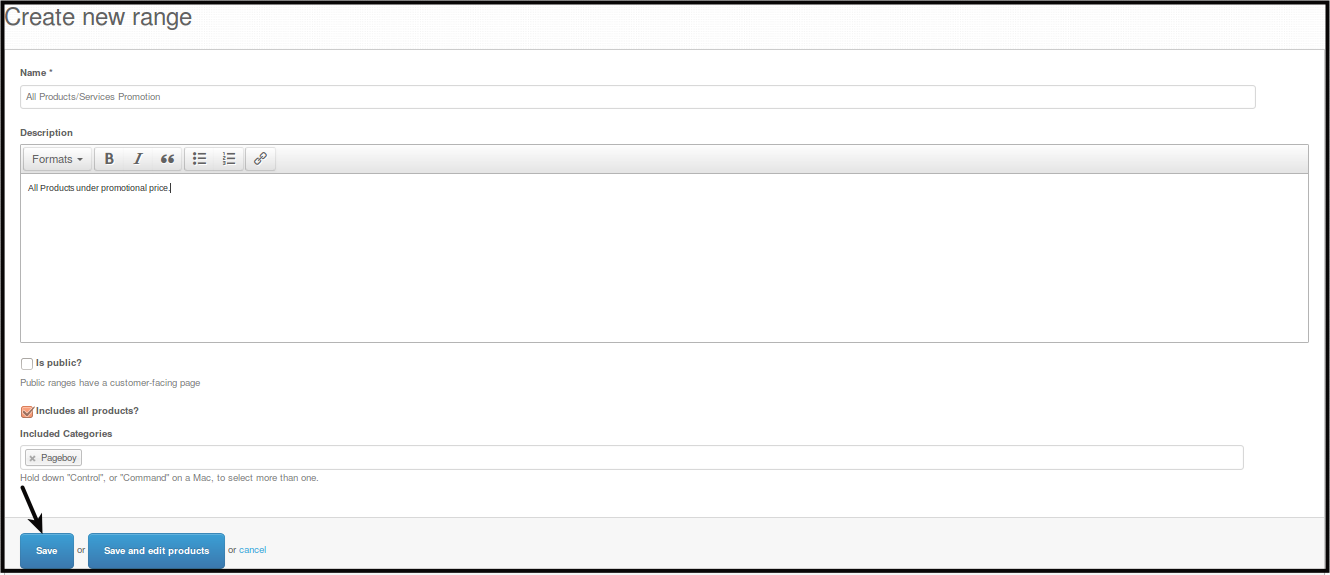
Included Categories - Choose Pageboy as default Category (Used only for All Products Promotion).
-
-
Click Save.
How to Create Range for Specific Products or Services
-
Click Promos.
-
Click Ranges.
You will be directed to this page.
-
Click +Create New Range.
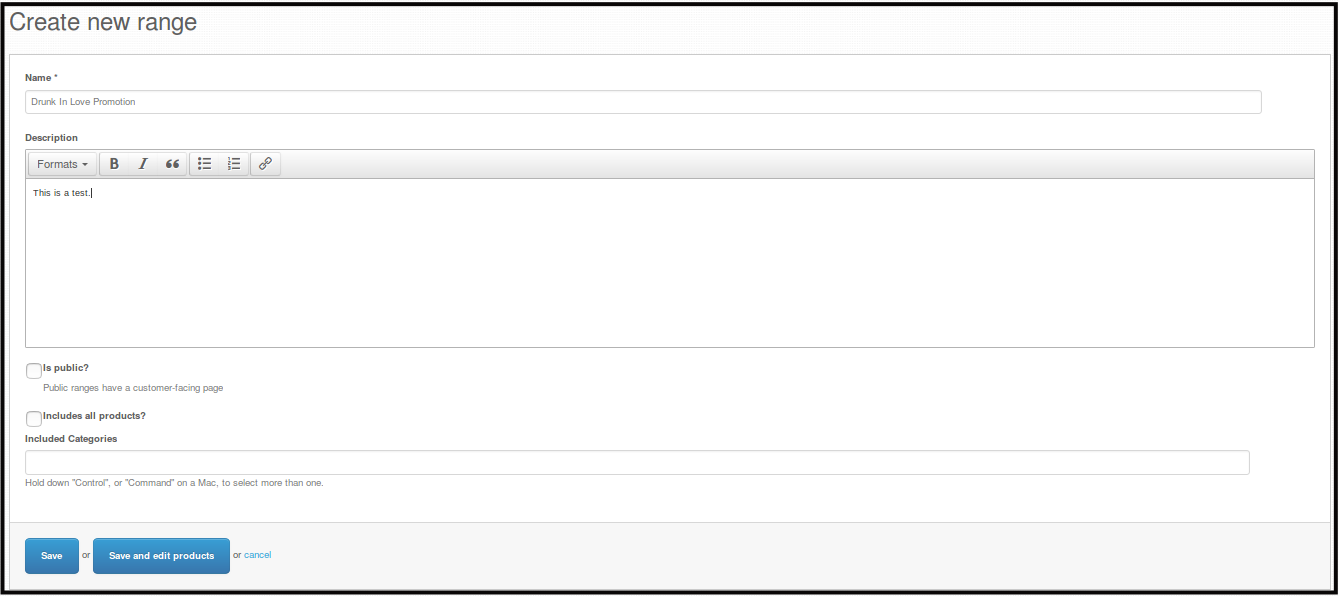
You will see this form. Fill out Range Name, Description, Includes All Products?, Included Categories.
-
Name - Name of the product range for promotions.
-
Description - The description of the promotion you are creating.
-
Includes All Products? - If all Products/services will be on promotion.
-
Included Categories - Choose Pageboy as default Category (Used only for All Products Promotion).
-
-
Make sure to NOT to click Includes All Products and NOT to put in Pageboy in Included Categories. Click Save and edit products.
-
Add UPC of the Products/Services you want to put on promotions.
-
Single Product
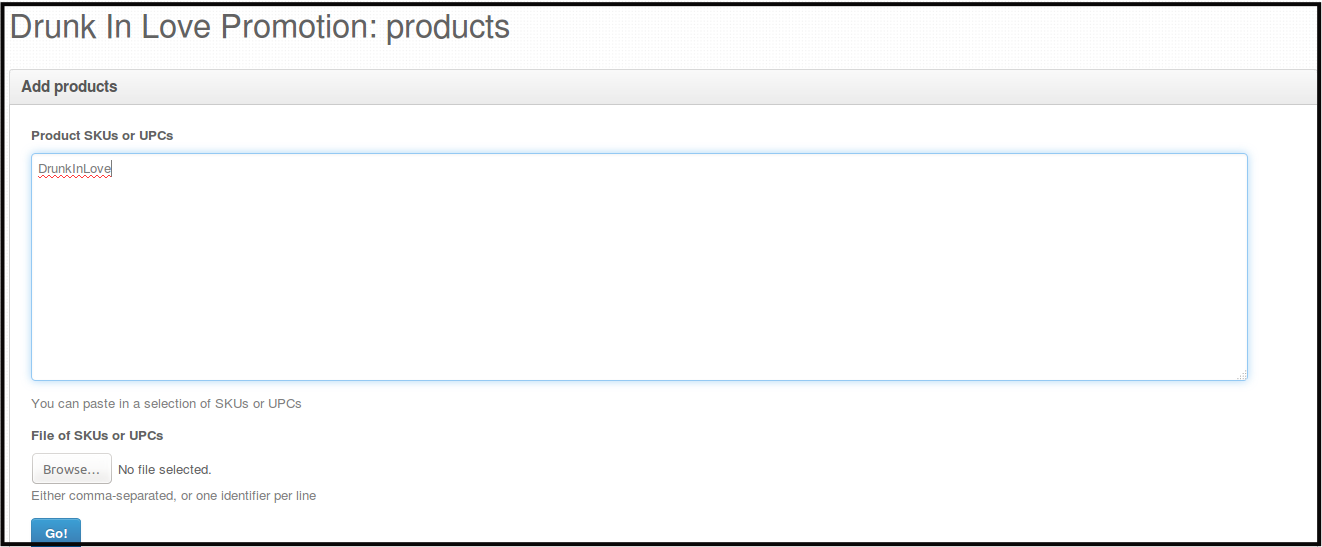
-
Two or More Products - Enter the Product/s UPC/s on Add products on a new line by pressing Enter.
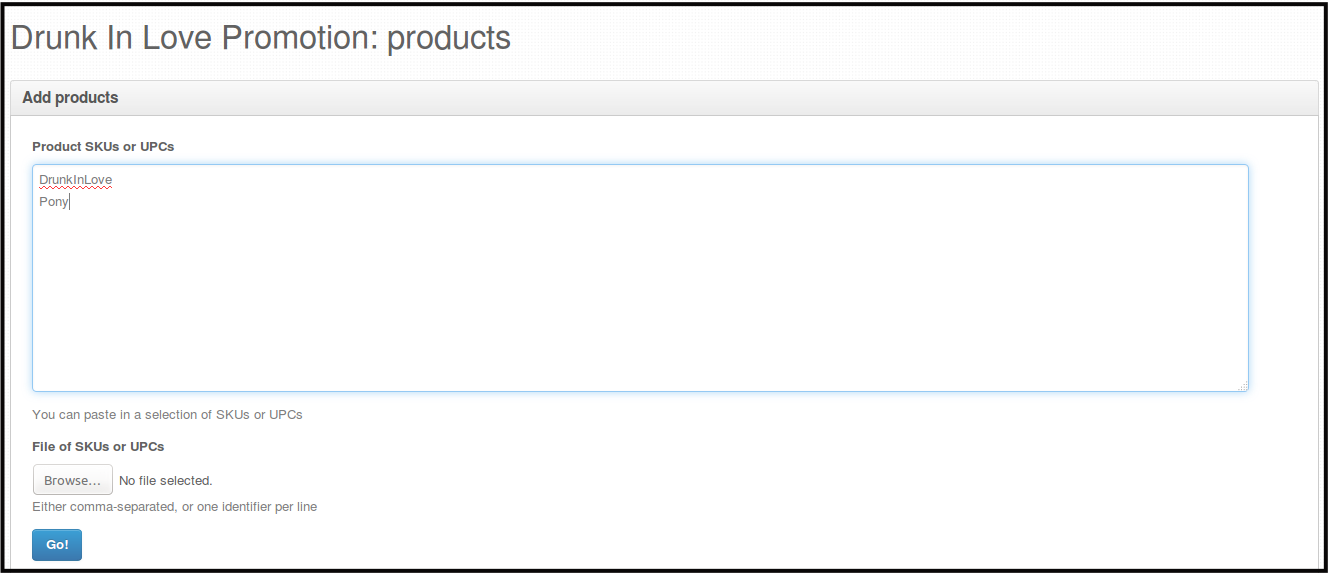
-
OR eperated by comma ,.

-
-
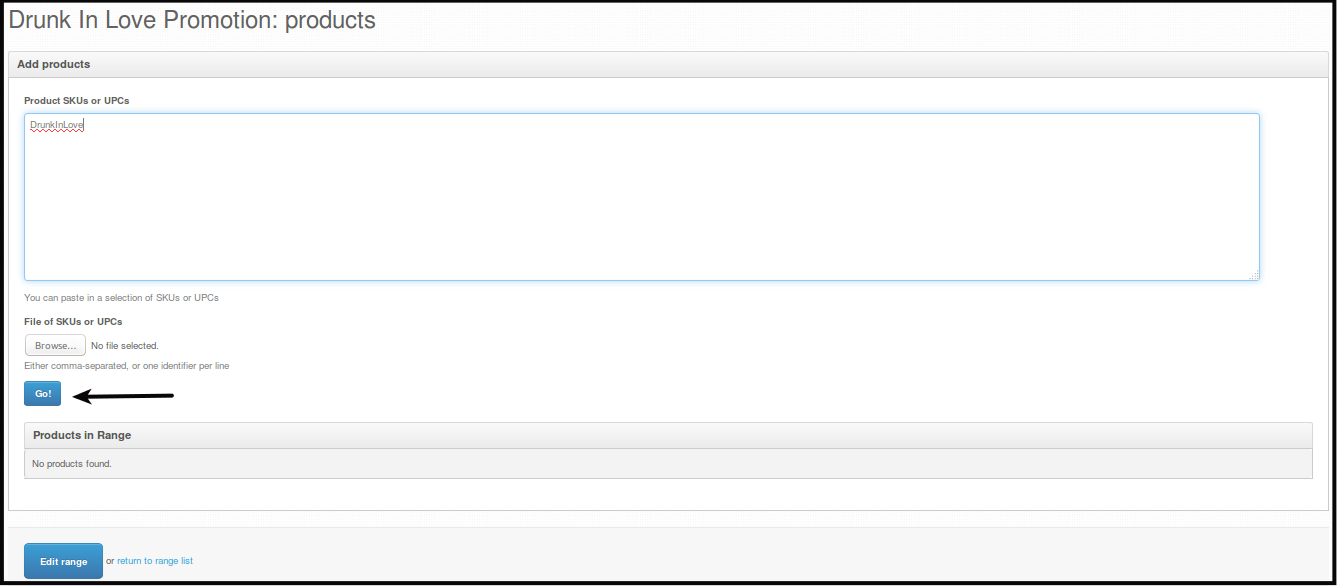
Press Go, to save the range.
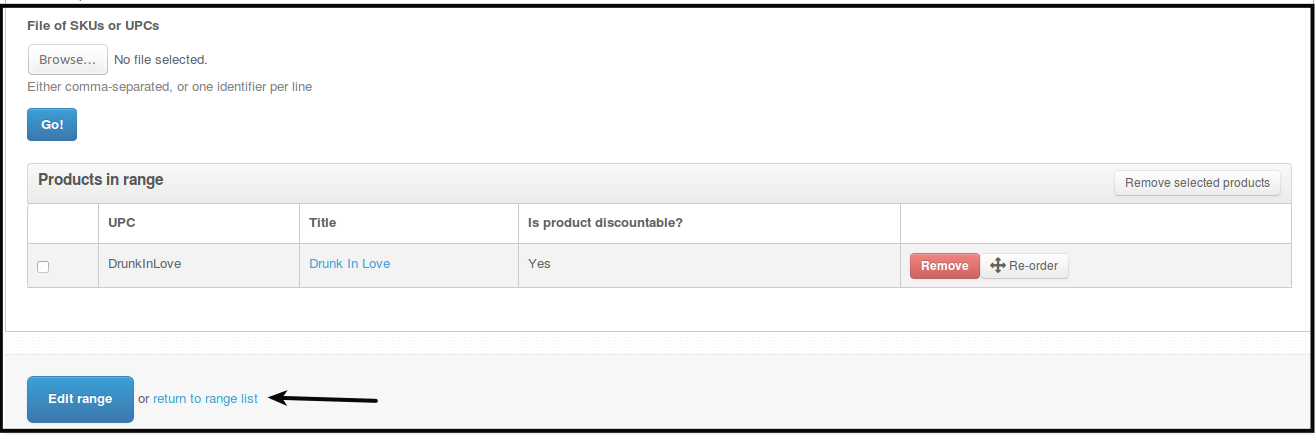
Then you will see a page confirming that all stocks are in that promotion.

-
Press Return to range list.
You will be directed to All the ranges made on the account.

How to Edit Ranges
-
Click Promos.
-
Click Ranges.
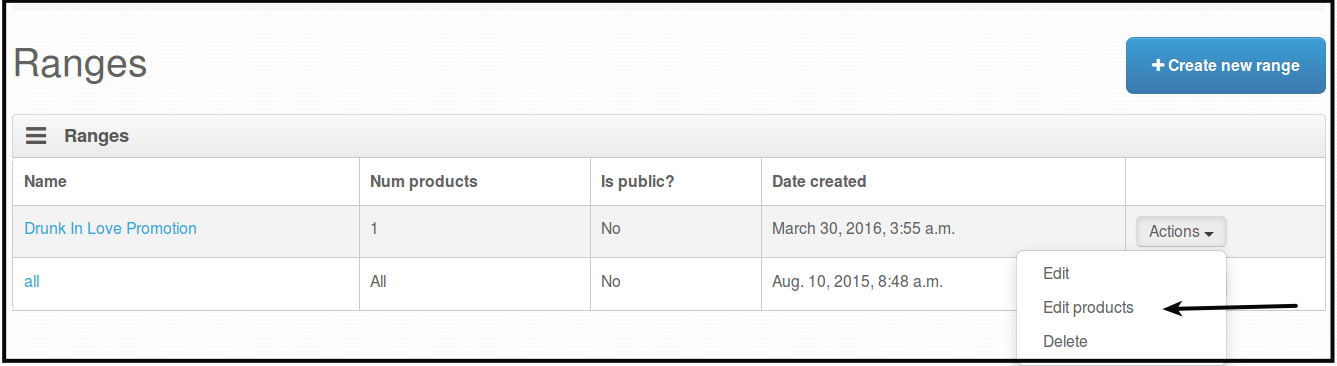
You will be directed to this page.
-
Click Actions beside the Range you want to edit.

-
Click Edit. This is applicable for ranges having all products.

You will be directed to a page where you can edit details on your range.
-
If you are editing Ranges for specific products. You will see Edit Products aside from Edit. Click on Edit Products to edit the products included on this range.
You will be directed to this page below.
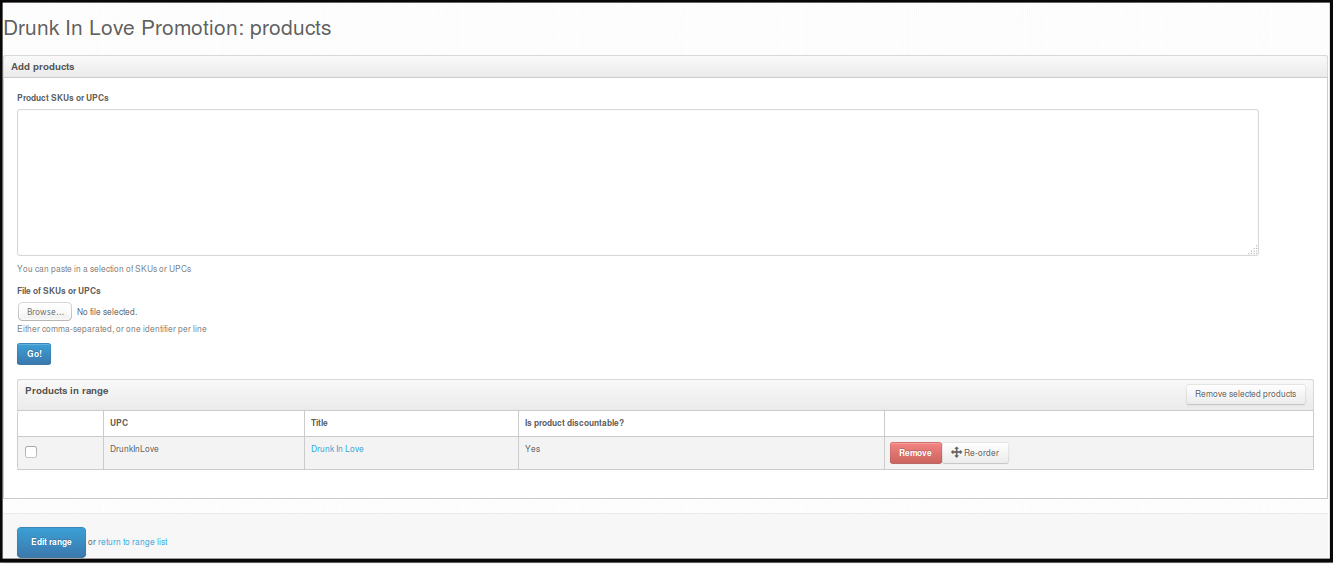
After editing the products included, you can press Go to save the changes or press Edit range to edit the details for the promo. If you will click Edit Range you will be directed to the page below.
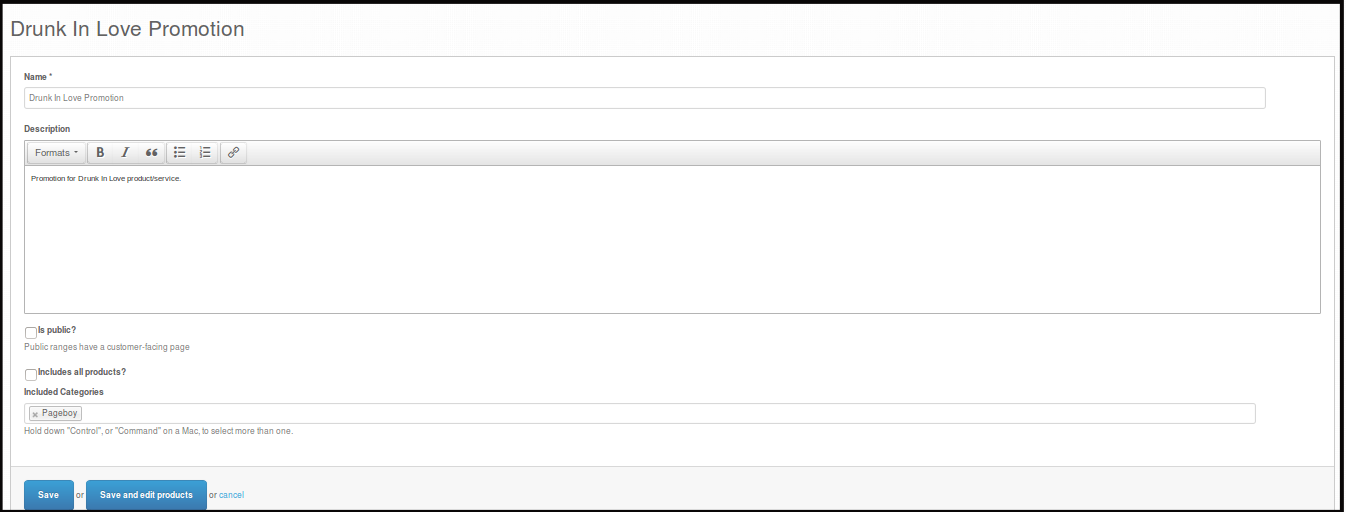
Here you can edit the Range details.
-
After editing everything, press Save to save all changes made.
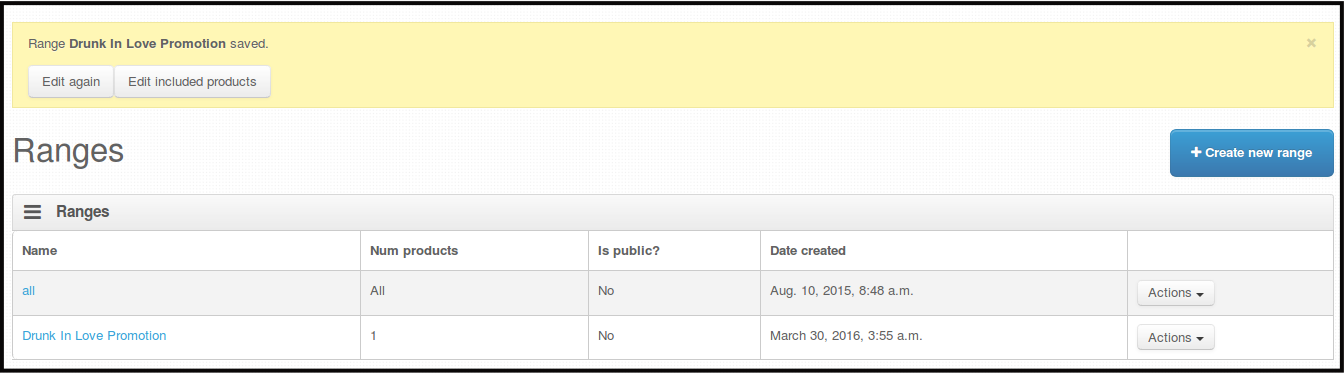
You will see this page after pressing save. This means that all changes has been saved.
How to Delete Ranges
-
Click Promos.
-
Click Ranges.
You will be directed to this page.
-
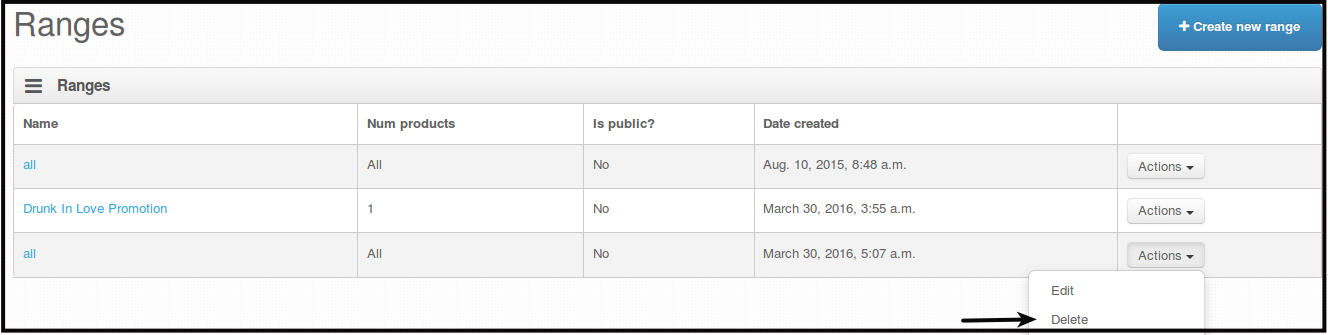
Click Actions beside the Range you want to Delete.
-
Click Delete.
-
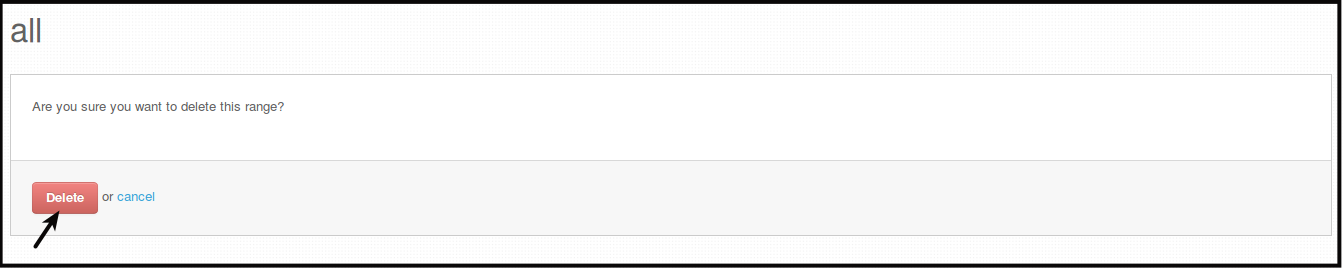
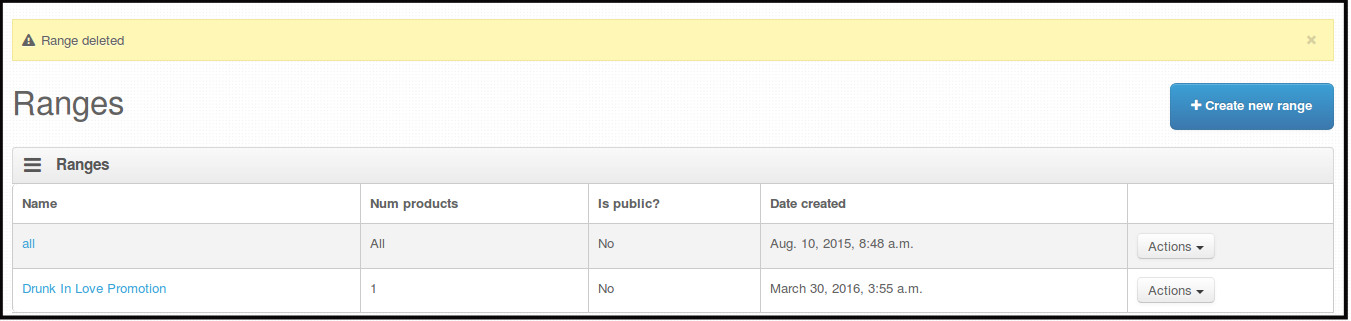
You will be directed to a page asking you to confirm if you want to delete the range. Click Delete.
You will see a confirmation message that the range is deleted.
Creating New Promo Code
-
Click Promos.
-
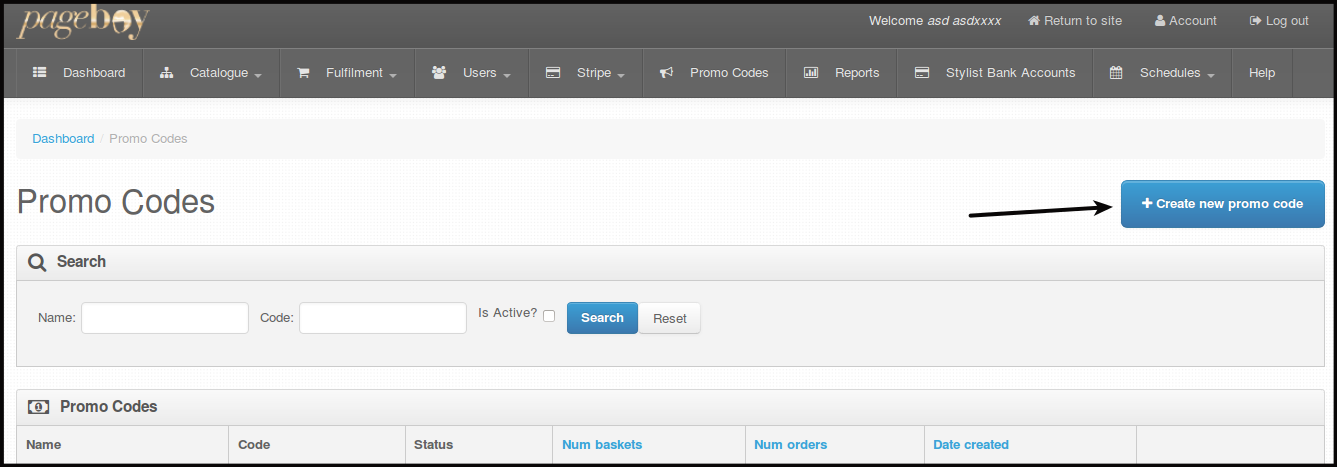
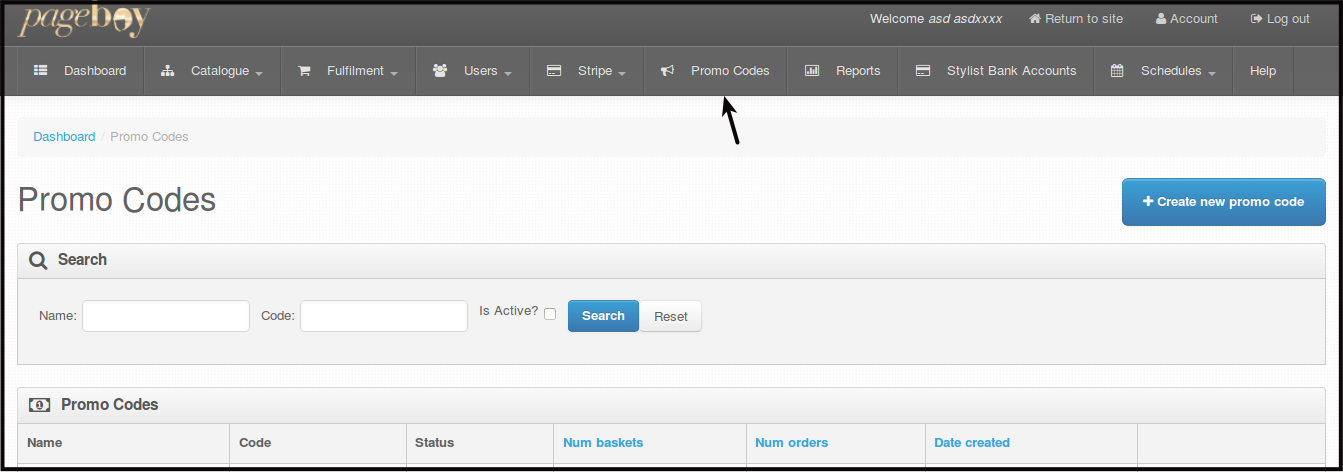
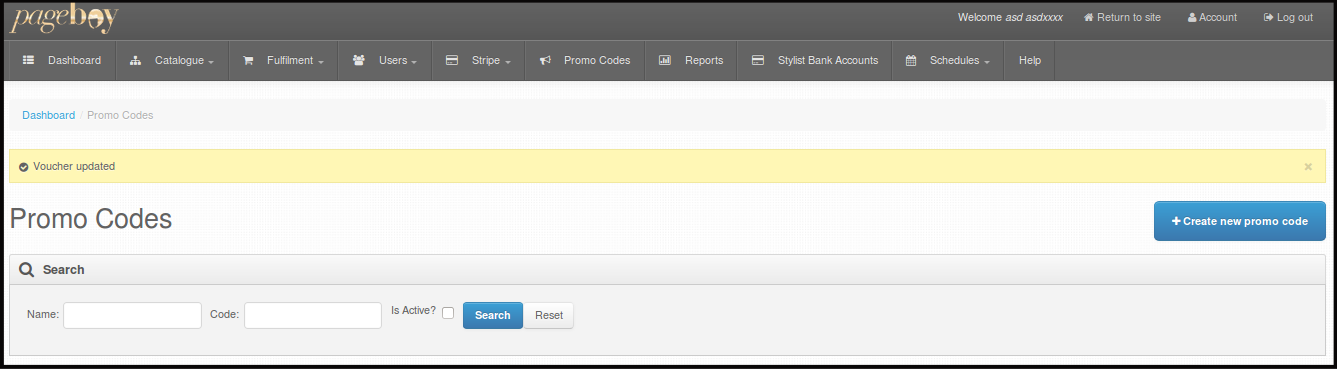
Click Promo Code.

You will be directed to this page.
-
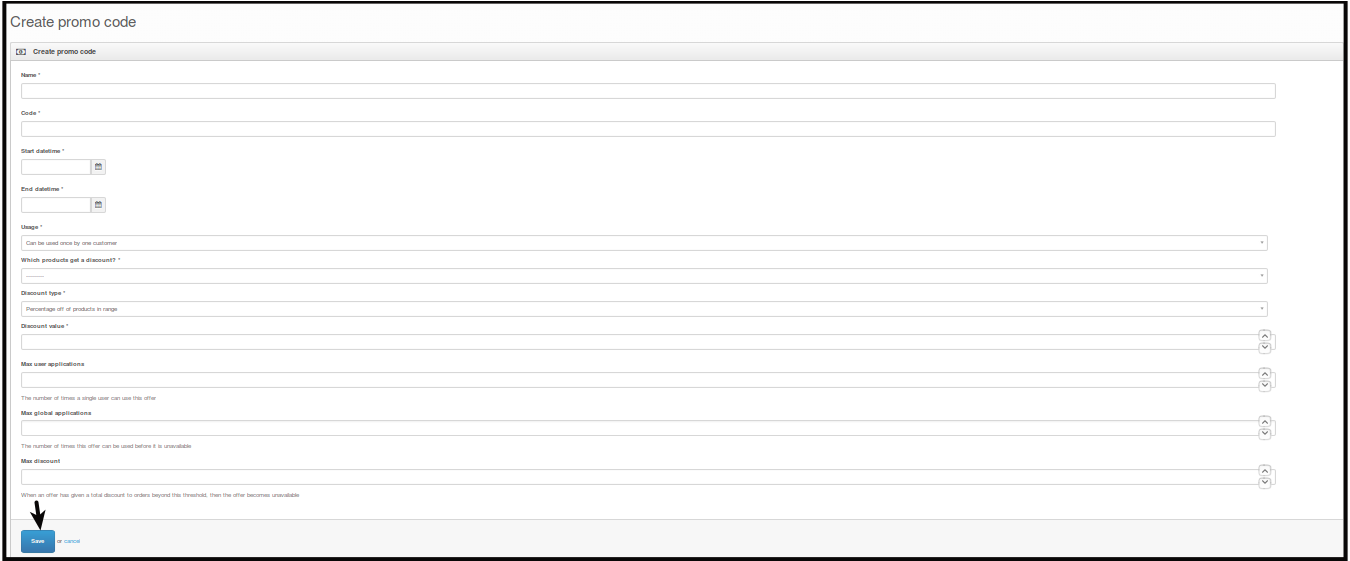
Click +Create new promo code.

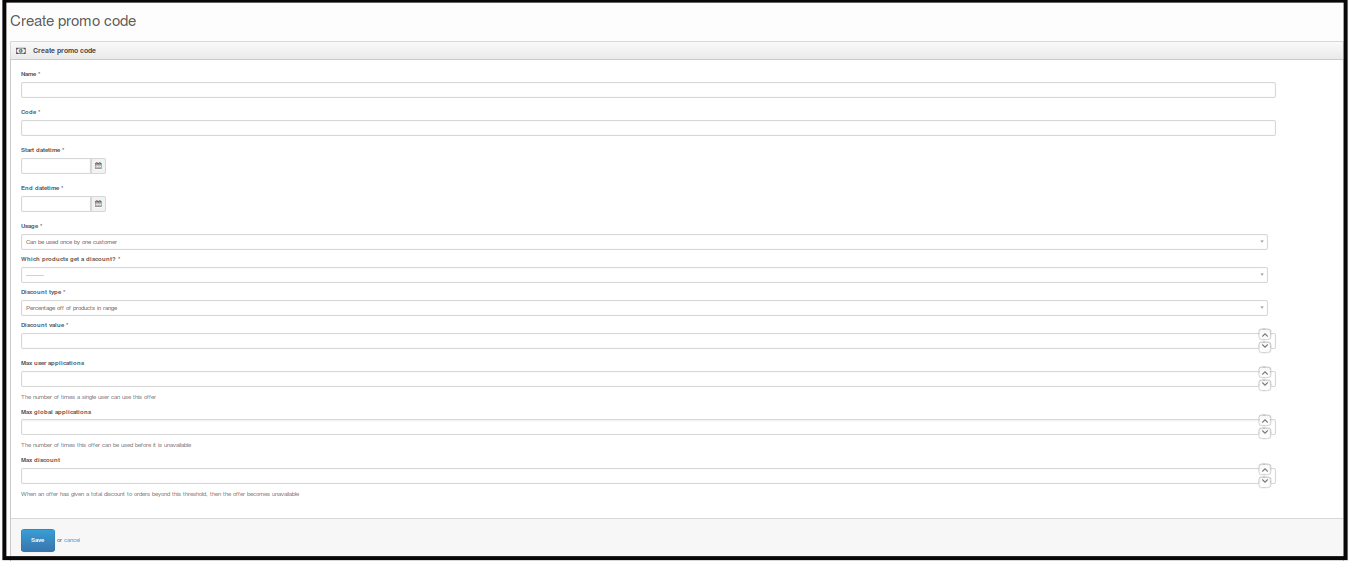
You will be directed to this page.
-
Complete the form with the following required fields:
-
Name- name of promo
-
Code- this is the code that will be used on the app (ex. PB)
-
Start Datetime & End Datetime- these fields pertains to start and end date/time of your promo duration, you can simply choose a date from the calendar and adjust the Hour and Minute (if necessary) and click Done to finish.

After clicking the date you want the promo code will start, you will be asked what time it should start.
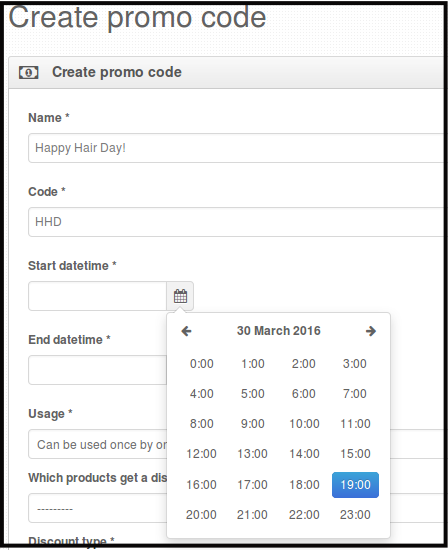
You will be be asked what specific time this will be done.
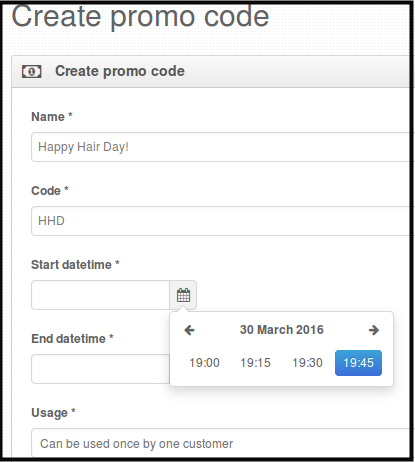
You will need to do the same thing on with the End Datetime.
-
Usage- this is where you set when will your promo takes effect and whose entitled to use it. Conditions are as follows, see the description of each below:
-
Can be used once by one customer- means the promo code can be applied for one time only by one specific customer.
-
Can be used multiple times by multiple customers- the promo code can be applied numerous times by numerous customers.
-
Can only be used once per customer- the promo code can be applied once for each one customer.
-
-
Which Products Get A Discount?- this pertains to products that are covered by your particular promo. The only data shown to this field is All, meaning all active products are captured by the promo.
-
Discount Type- this refers to types of discount that the system can only offer. Select one from these default given choices, description of each is explained below:
-
Percentage off of products in range- means concerned products are entitled of particular percentage (the one entered on Discount Value, ex. 15% off) of markdown when conditions are met.
-
Fixed amount off of products in range- means concerned products are entitled of specific amount (again, you will enter the amount on Discount Value field, ex. $10 off) off of discount when conditions are met.
-
-
Discount Value- this is the percentage or amount of discount, whatever you enter on this field applies to your selected Discount Type.
-
Max User Applications- this is used to limit the number of usage of this promo code per user once the limit is reached the account using the promo code will not be able to use the promo code. It will be automatically unavailable for further use on that account.
-
Max Global Applications- this is used to limit the number of promo code usage for all users once the set global applications are reached the promo code will be automatically unavailable.
-
Max Discount - this is use to limit the amount of discount the promo code can give, once the promo code reaches the amount over of the set limit the promo code will not be available anymore.
NOTE: Max User Applications, Max Global Applications and Max Discount application can be used in combo, depending on the limitations set by the user.
-
-
Click Save to finish. Newly created Promo code must now be added under Promo Codes table.
Then you will see the promotion you created.
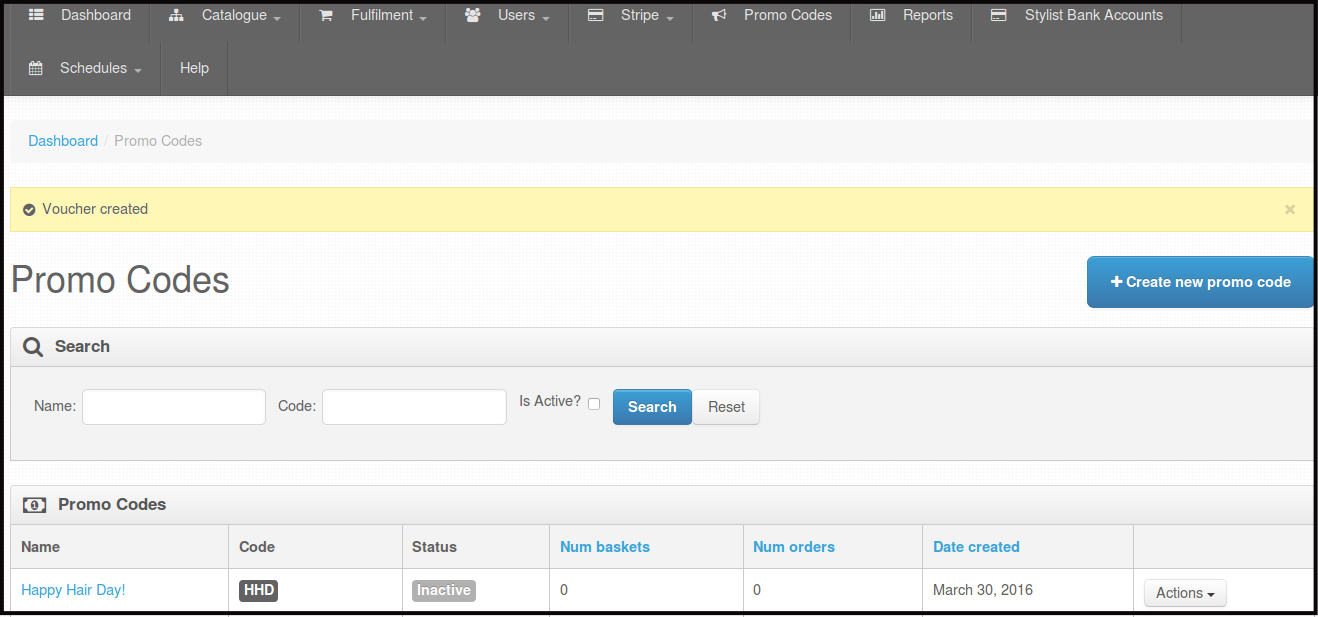
Note: Promo Code Status will be automatically Active when the start time is on and will be automatically Inactive when the end time is done.
How to View Details of your Promo Code
-
Click Promo Codes, you will be directed Promo Codes where you can see all the Promo codes created on the account.
-
Click Action.

-
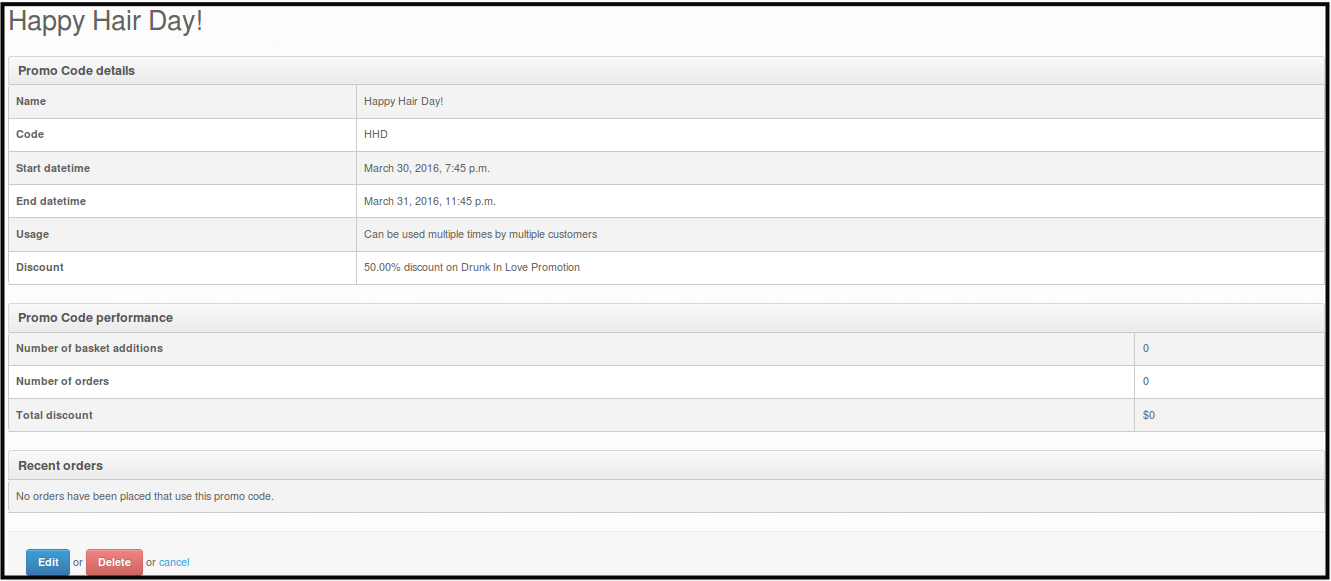
Click Stats.
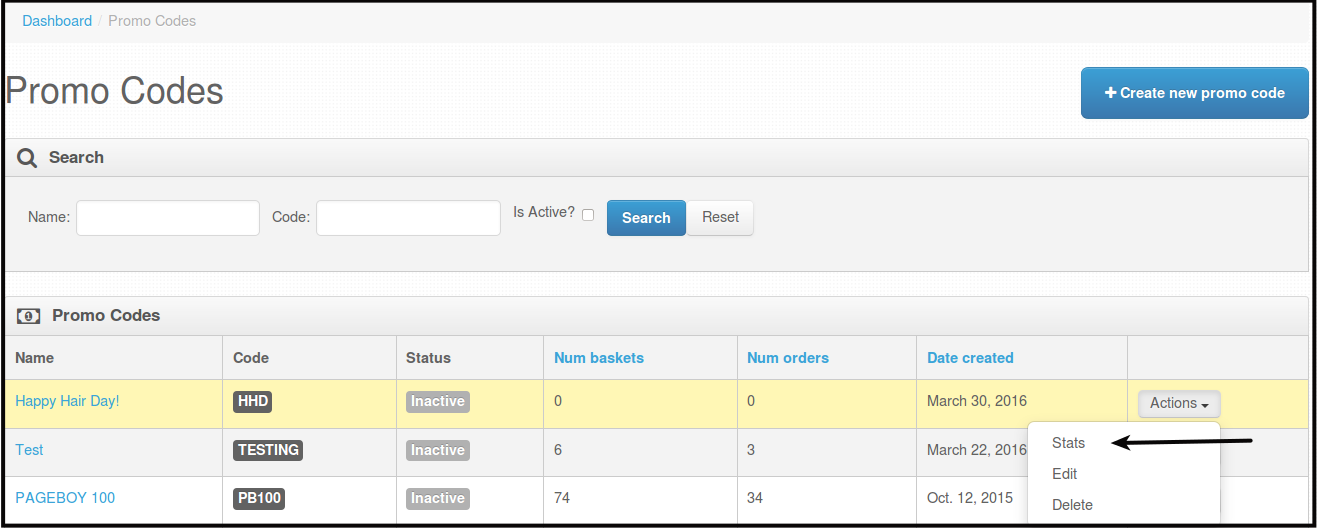
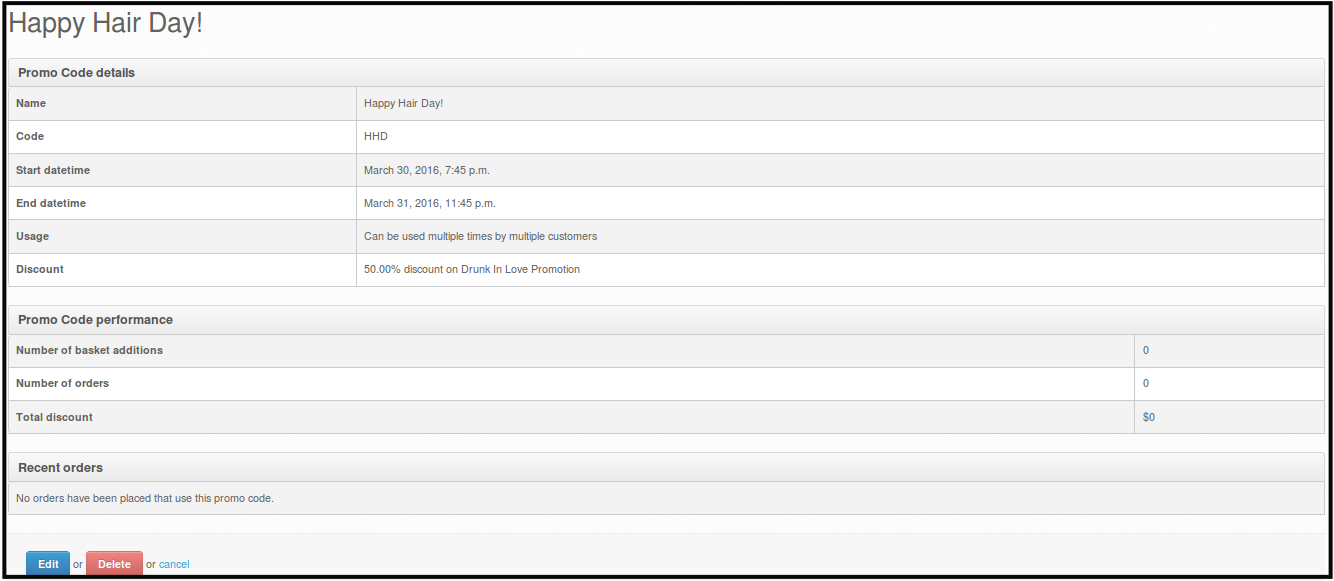
You will see the details of the promo code you want to see.
How to Edit Promo Code
-
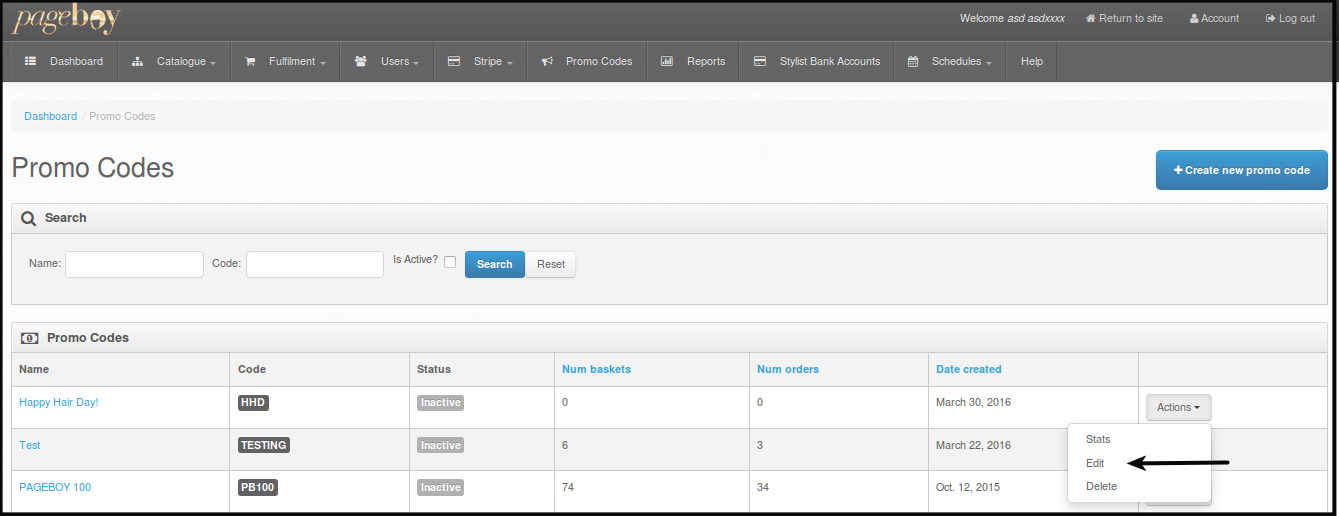
Click Promos.
-
Click Promo Code.
You will be directed to this page.

-
Click Action.
-
Click Edit.
You will be directed to this page.

-
Click Save. This will save all the changes made.
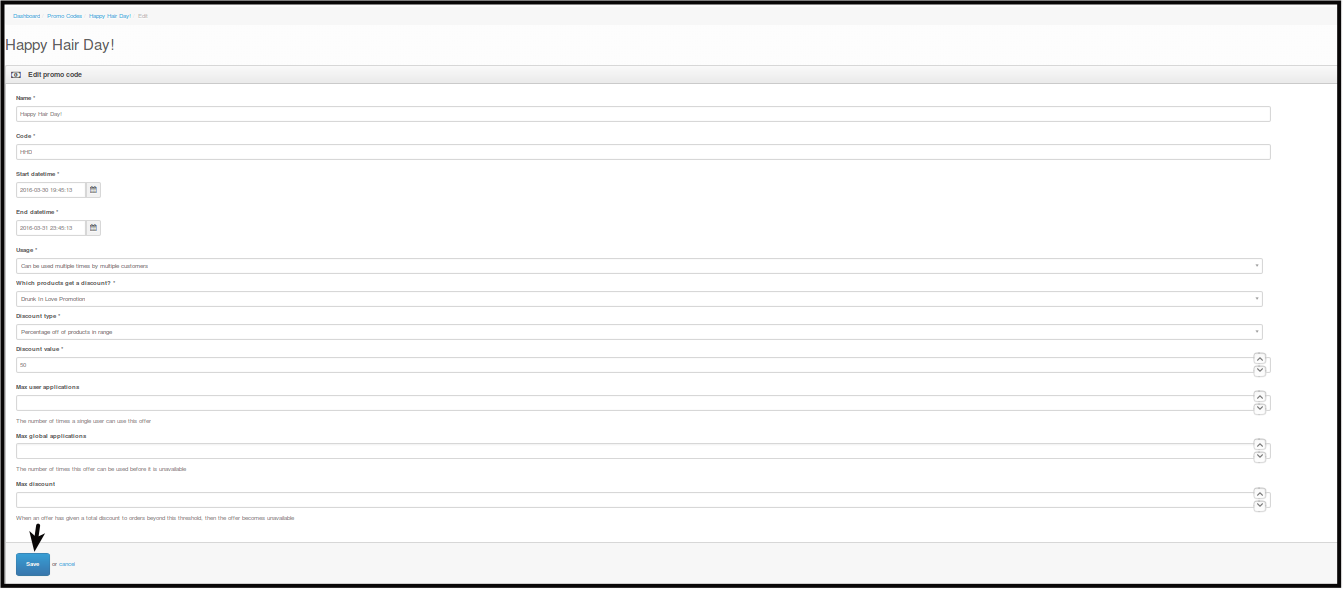
You will see a message that the promo code is updated.
How to Delete Promo Code
-
Click Promo Codes, you will be directed Promo Codes where you can see all the Promo codes created on the account.
-
Click Action.
-
Click Delete.

You will be directed to this page.
-
Click Delete.

You will be directed to a page where you can see the confirmation that the promo code is deleted.