Pre-requisite set up for a Stylist account.
-
Register as Stylist via Pageboy app.
-
Set up your Stylist account via Pageboy app.
-
Set up your work schedules via Pageboy app.
-
Wait for an Admin or Staff to confirm your status as a stylist.
Register As Stylist
-
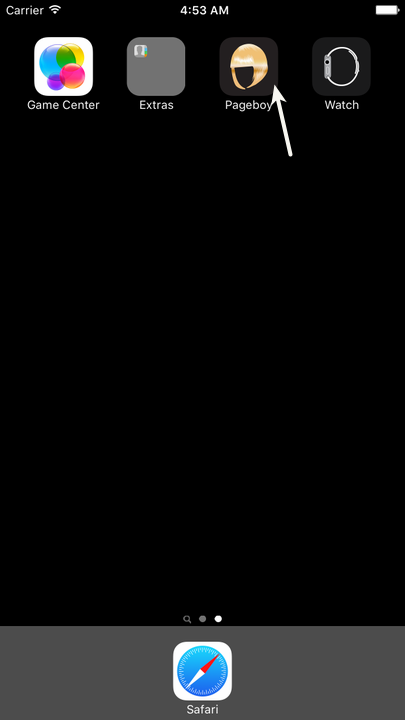
Download Pageboy App using your IOS Phone. Then install it.
-
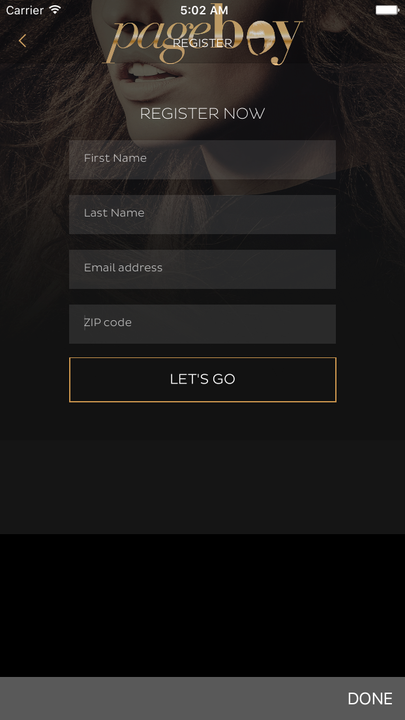
Press Register Now.

-
Fill out the information needed for registration.
-
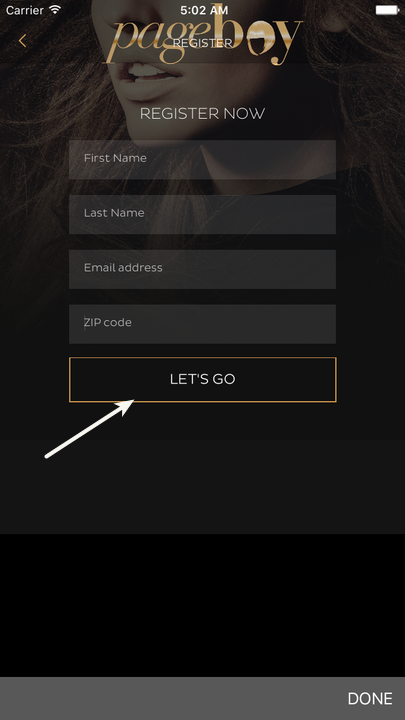
Press Let's Go.
-
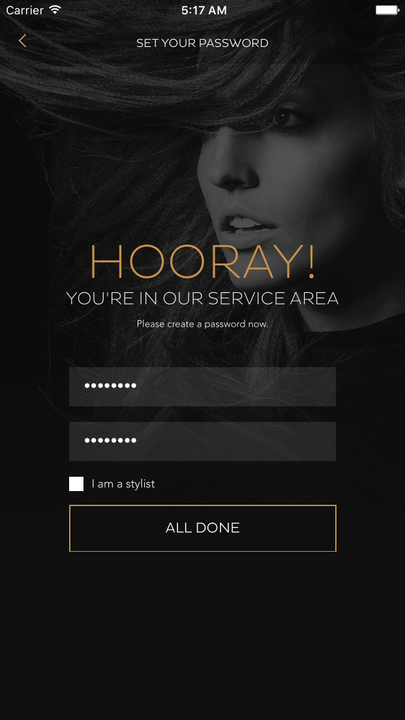
There are 2 output that will be seen on your IOS App. If you are under service coverage you will see the image below.
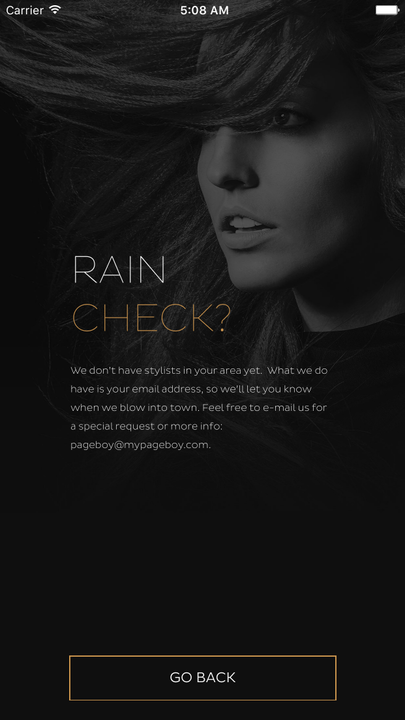
If you are out of service coverage, you will see the image below.
-
The system will ask you to set up your own password and it will ask you if you are a stylist yes or no. If you are please press on I am a stylist. Then press ALL DONE.

After the registration you will be directed to this landing page.

Setting up your Stylist Account via App
-
Log in using your stylist account. You will be directed to the landing page.
-
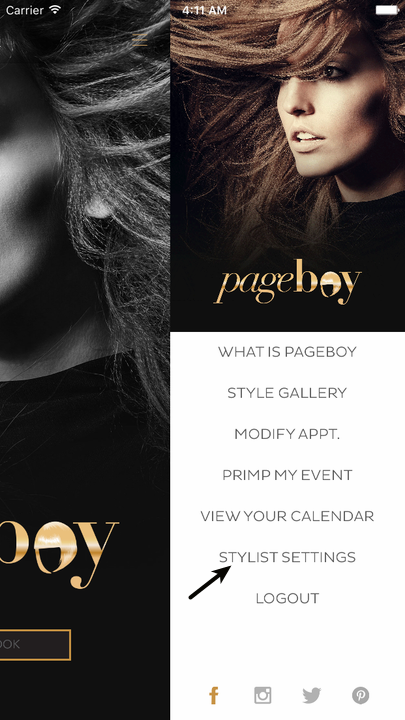
Press = on the upper right hand corner of the app.

-
Press Stylist Settings.
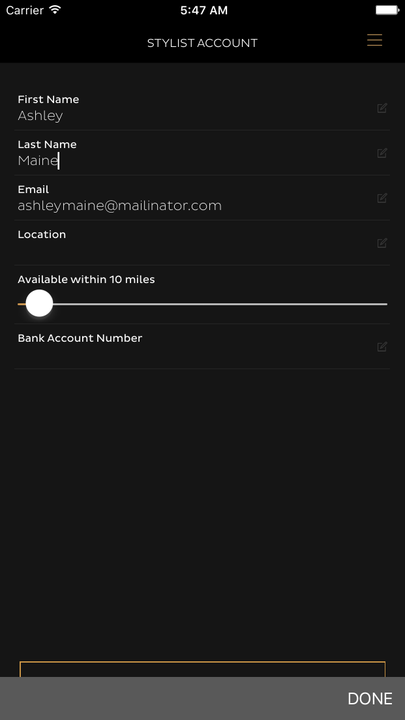
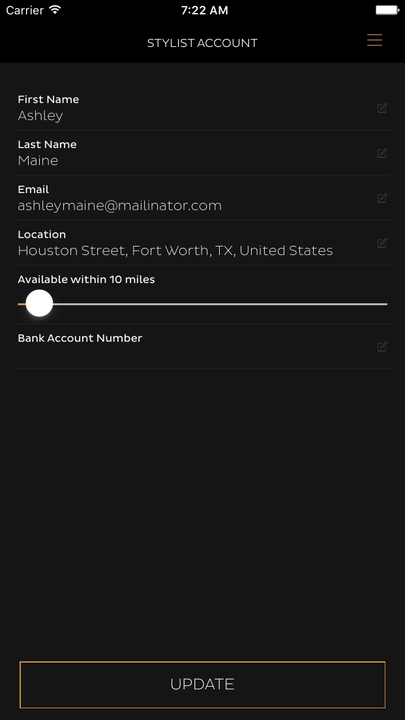
You will be directed to this page.
-
Press Location.
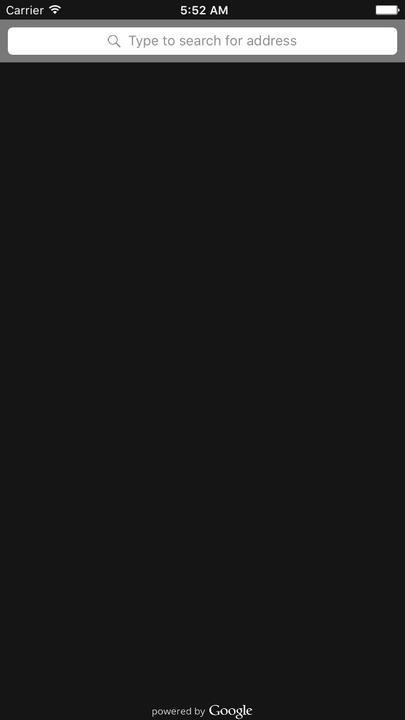
Enter your location or address so that you can use it for the range radius.
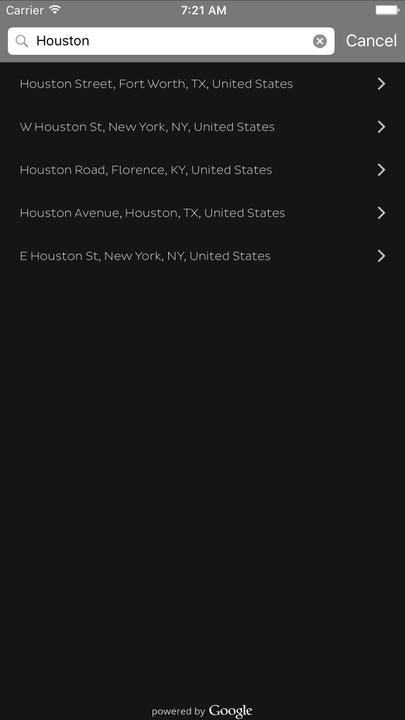
The system will search for your address.
-
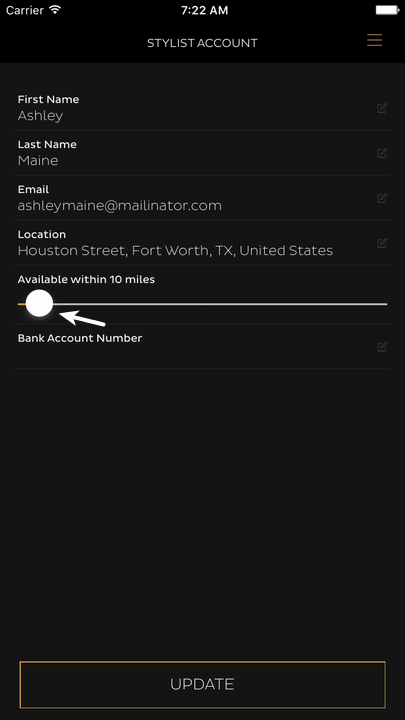
Set the raduis of coverage you can cover as a stylist. It will be in miles.
-
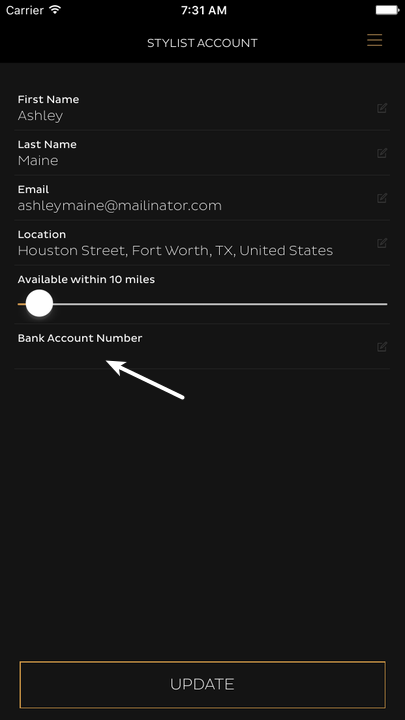
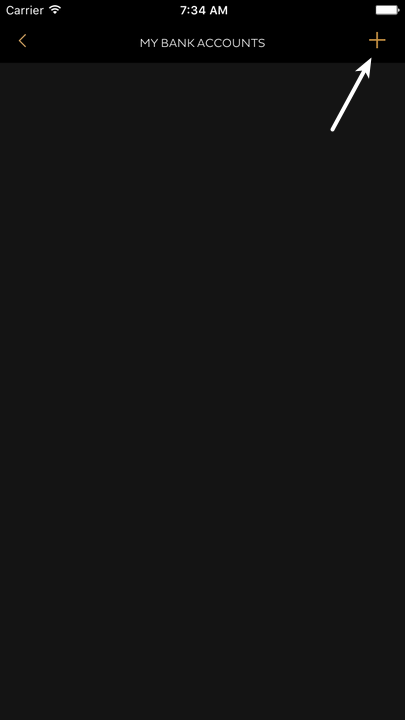
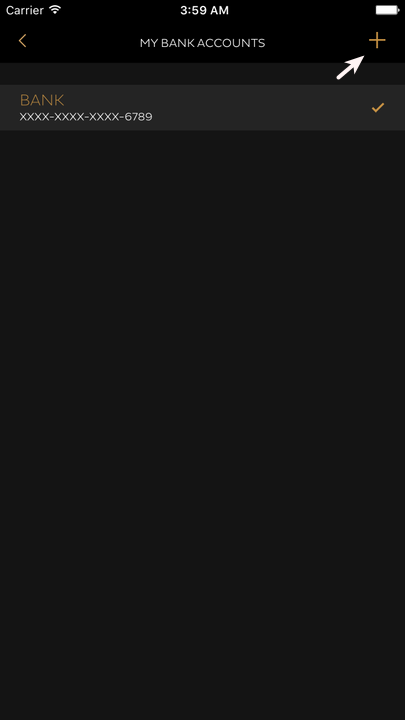
Set your bank account by pressing Bank Account Number.
You will be directed to this page. Press + to add an account number.
-
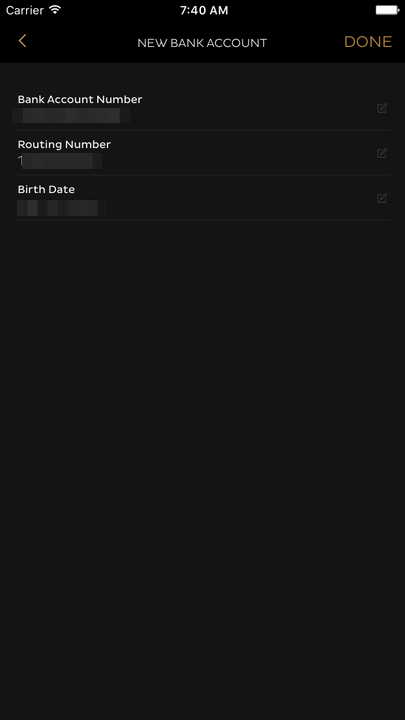
Enter your bank account details.
-
Press Done.
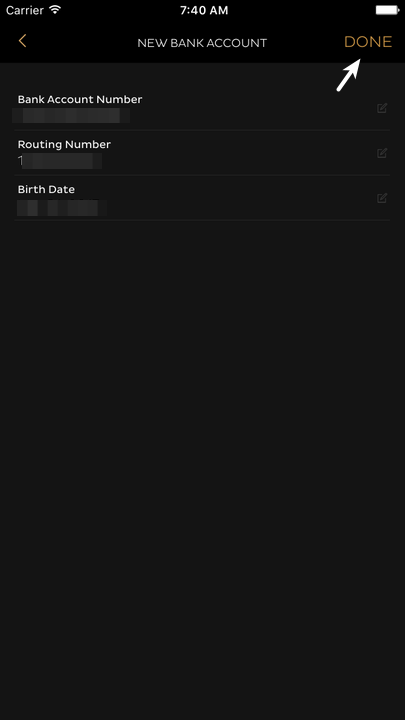
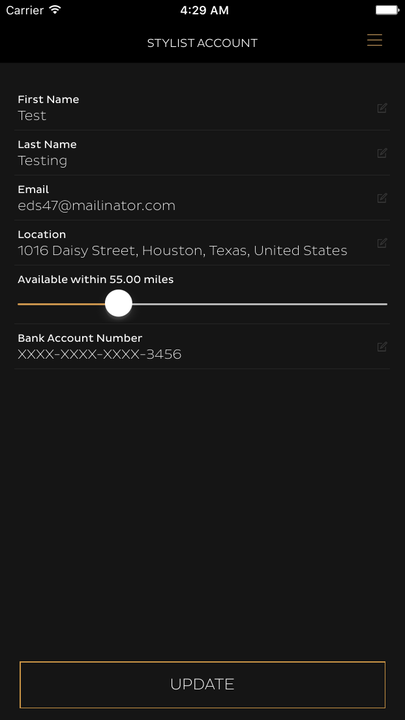
You will see this page.
-
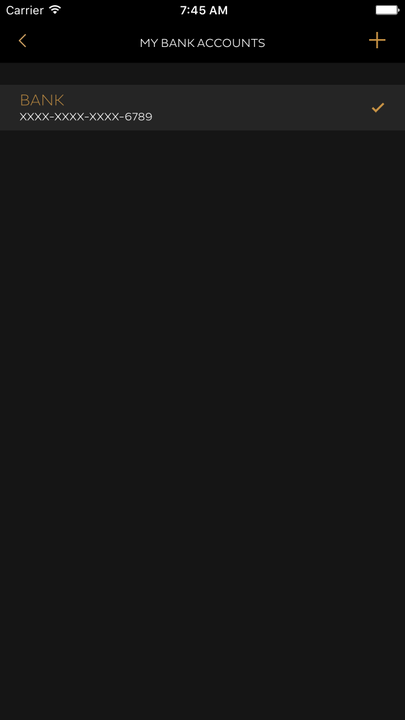
Press Bank.

-
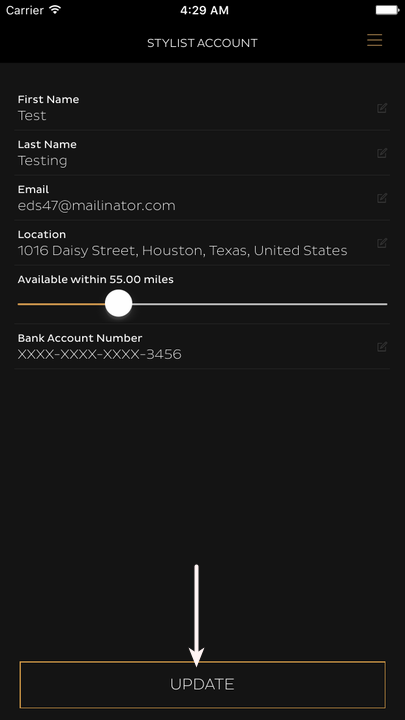
Press UPDATE. This is to update the system of your information.
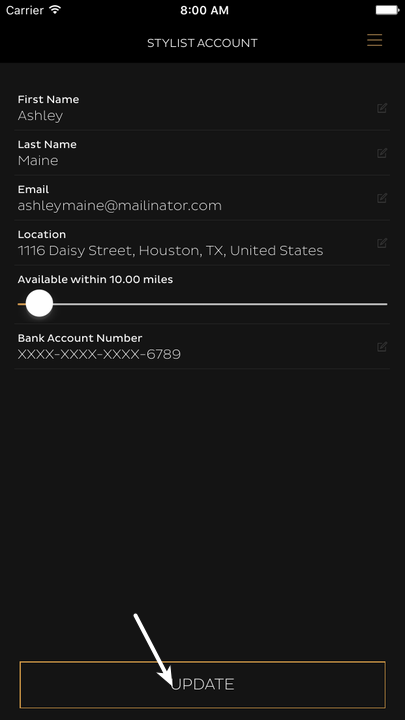
Now your account is all set!
How to Update Stylist Bank Account via App
-
Log in using your stylist account. You will be directed to the landing page.
-
Press = on the upper right hand corner of the app.
-
Press Stylist Settings.
You will be directed to this page.
-
Press Bank Account Number.
You will be directed to this page.

-
Press + on the upper right corner of the app.
You will be directed to this page.
-
Press DONE on the upper right corner of the screen.
-
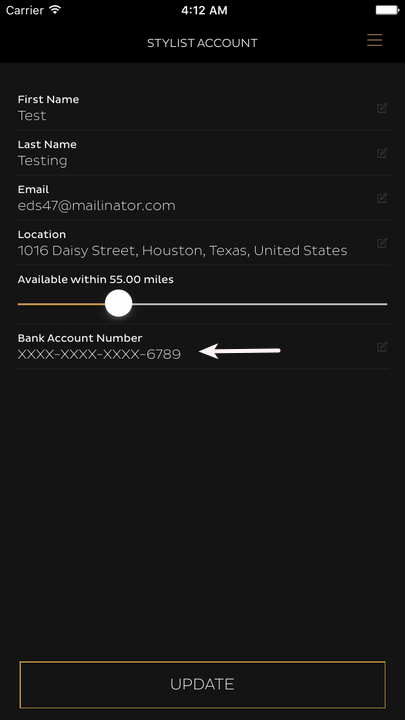
Press New Account number first, then press < on the upper left corner to go to Stylist account.
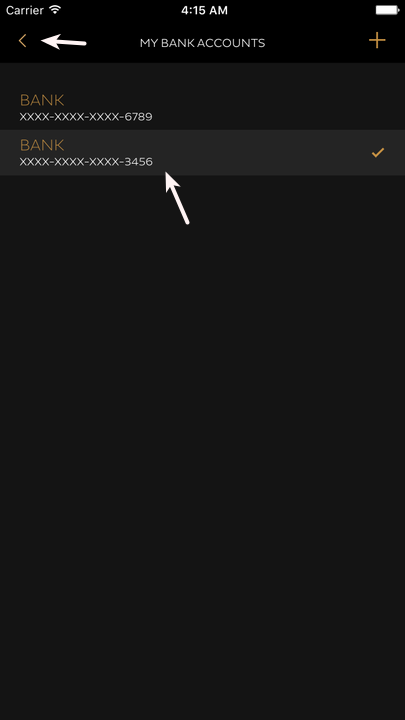
You will be directed to this page.
-
Press UPDATE to update the new bank account to your stylist account.
Setting Up Your Stylist Schedule via App
-
Log in using your stylist account. You will be directed to the landing page.
-
Press = on the upper right hand corner of the app.
-
Press VIEW YOUR CALENDAR.

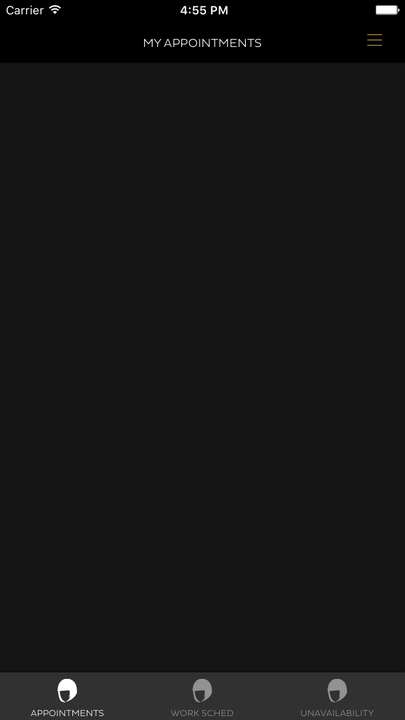
You will see your calendar, this calendar is where you can see all of your appointments as a customer and stylist. Normally it is blank if it is a newly set up account.
-
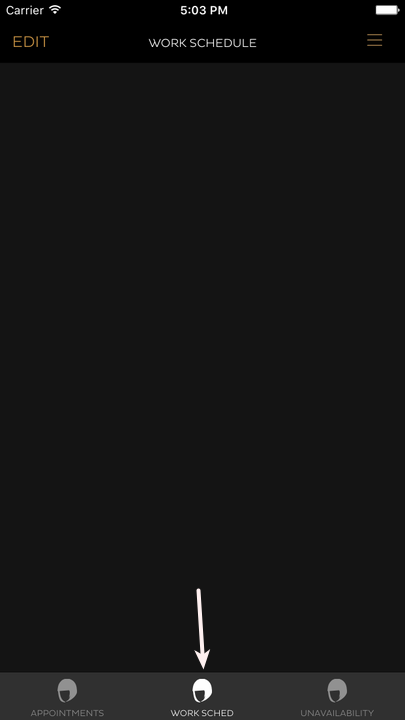
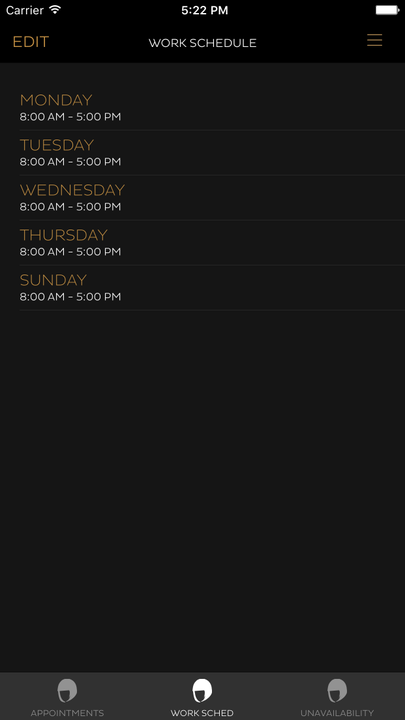
Press WORK SCHED at the bottom middle of the screen, to add or view work schedules.
-
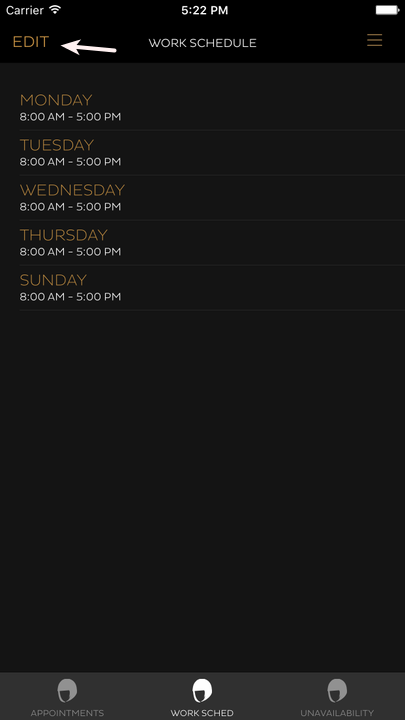
Press EDIT to add schedule.

-
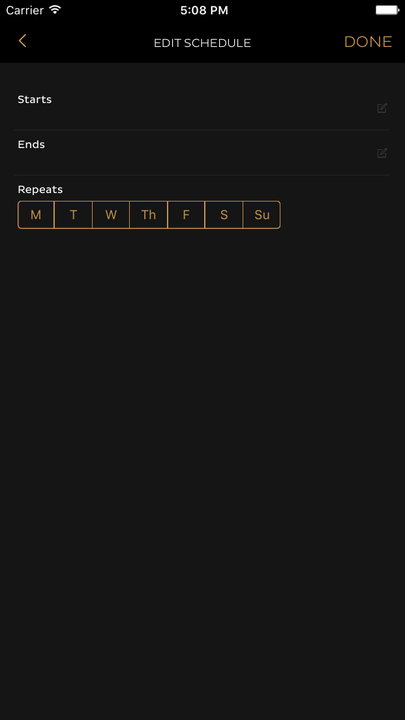
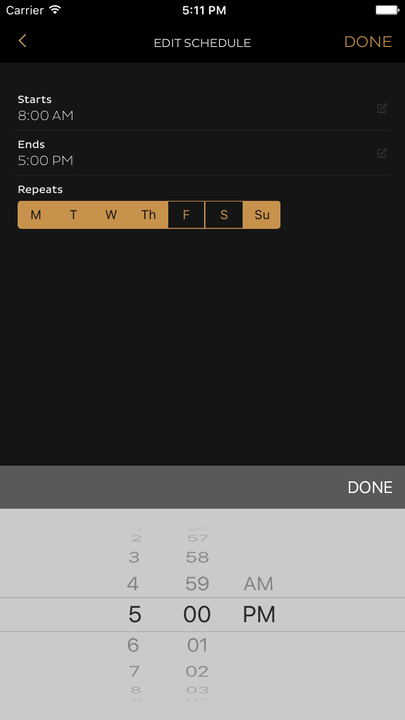
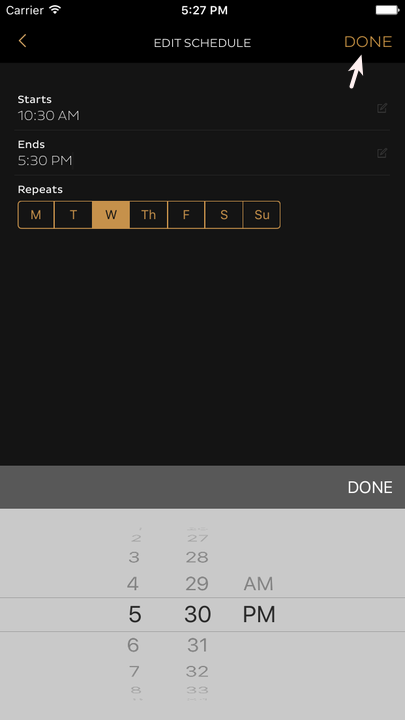
Add Schedule by pressing Start and Ends, including the days of Repeat. By Pressing on Start then turning the dial for the time, then Press End, turn dial to the time you want to set. Press the days you want the schedule to repeat.
-
Press DONE to confirm the schedule for that day or days in repeat.
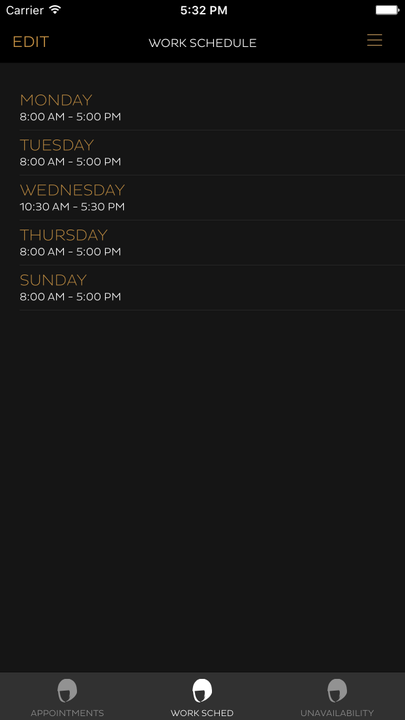
After pressing done you will see your work schedule posted.
How to Edit Your Stylist Schedule via App
-
Log in using your stylist account. You will be directed to the landing page.
-
Press = on the upper right hand corner of the app.
-
Press VIEW YOUR CALENDAR.
You will see your calendar, this calendar is where you can see all of your appointments as a customer and stylist. Normally it is blank if it is a newly set up account.
-
Press WORK SCHED at the bottom middle of the screen, to add or view work schedules.
-
Press Edit, to be able to change your work schedule set.
-
Press Start and End time. Choose the day you want to edit.

-
Press Done once you are done editing.
You will be directed to the Work Sched. As you can see the date we have edited is now updated.
How to Schedule Unavailability Time.
-
As we can see, our work schedule is on repeat, now if you want to go out for a day or for certain hours and don't want to move your work Schedule, you can always put Unavailability Time. This way you won't need to change your Work Schedule just apply unavailability time.
-
Here is how to do it.
-
Log in using your stylist account. You will be directed to the landing page.
-
Press = on the upper right hand corner of the app.
-
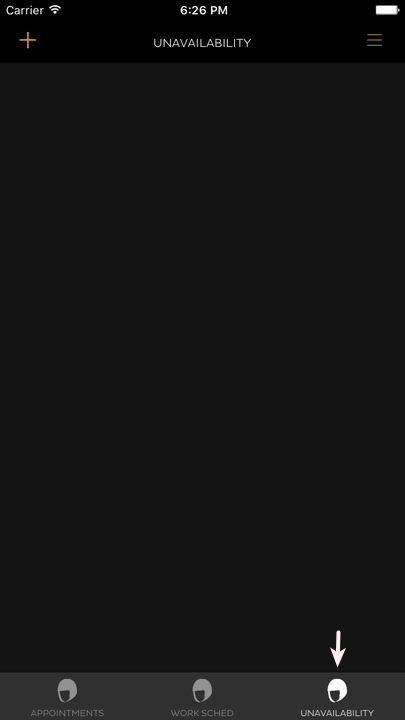
Press VIEW YOUR CALENDAR.
-
Press UNAVAILABILITY located at the lower right corner of your screen.
-
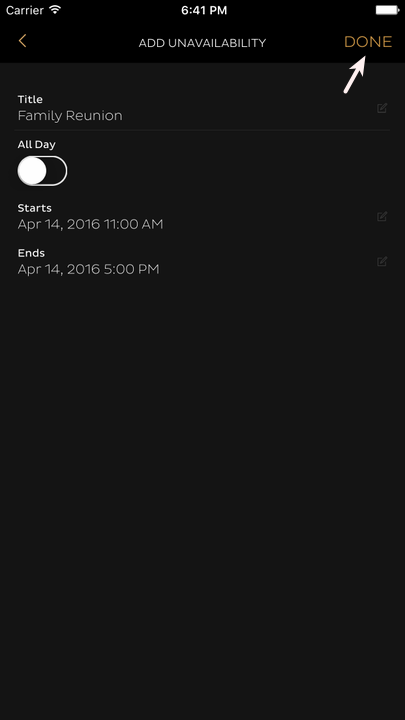
Press + to add Unavailable Schedule.
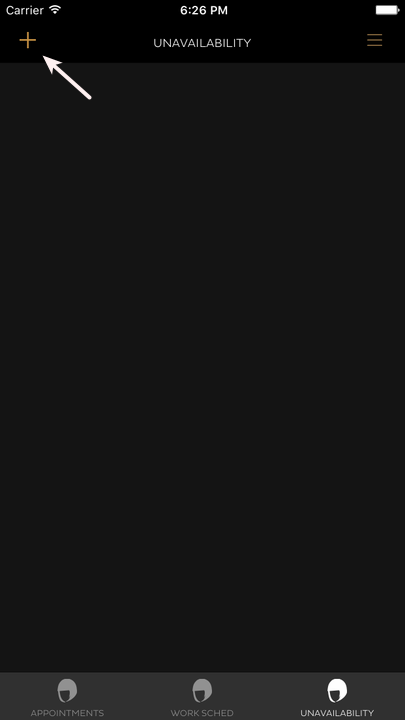
You will see the image below where you can set up your unavailable time.
-
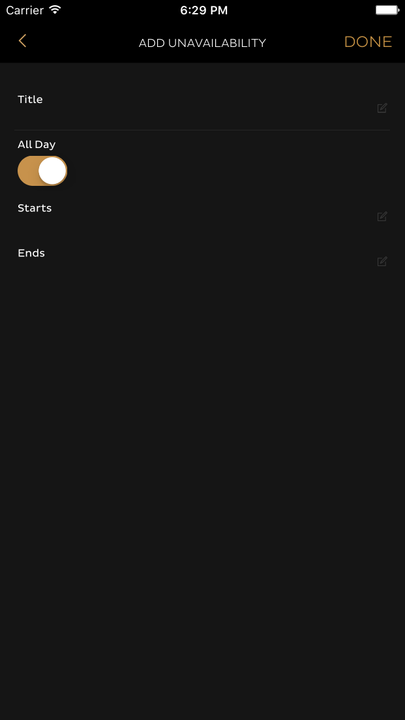
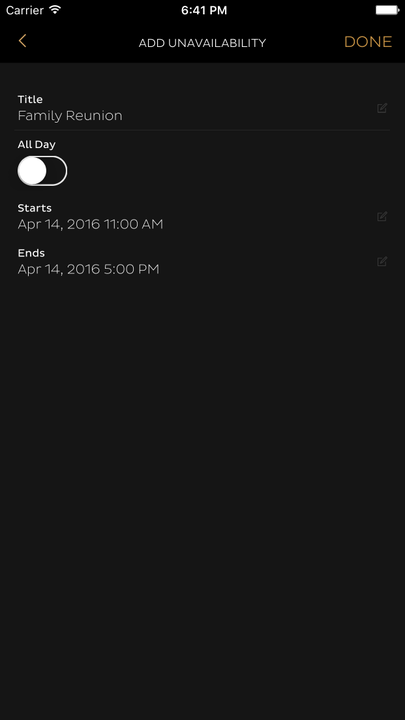
Type in the Title of your Unavailable schedule, Slide if it is for whole day or not, and Press Starts and Ends to set the date and time.
-
Press DONE after setting all up.
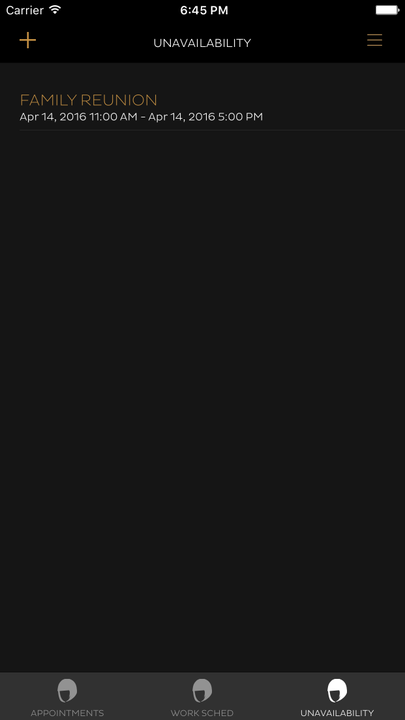
You will be directed to this page. Now everything is set, the system will not let you have an appointment during the day and time you have set on Unavailability.
-